How Much Paint Do I Need for a 3 Bedroom House? Estimating Your Painting Project Needs

Determining how much paint is required for a 3-bedroom house involves considering several factors, including the size of the rooms, the number of coats needed, and the paint's coverage rate. Paint coverage can vary widely depending on the brand and type of paint. Usually, a gallon of paint covers about 350 to 400 square feet. For a standard three-bedroom house, with each bedroom measuring approximately 150 square feet, additional areas such as hallways and the living room must also be factored into the total square footage.

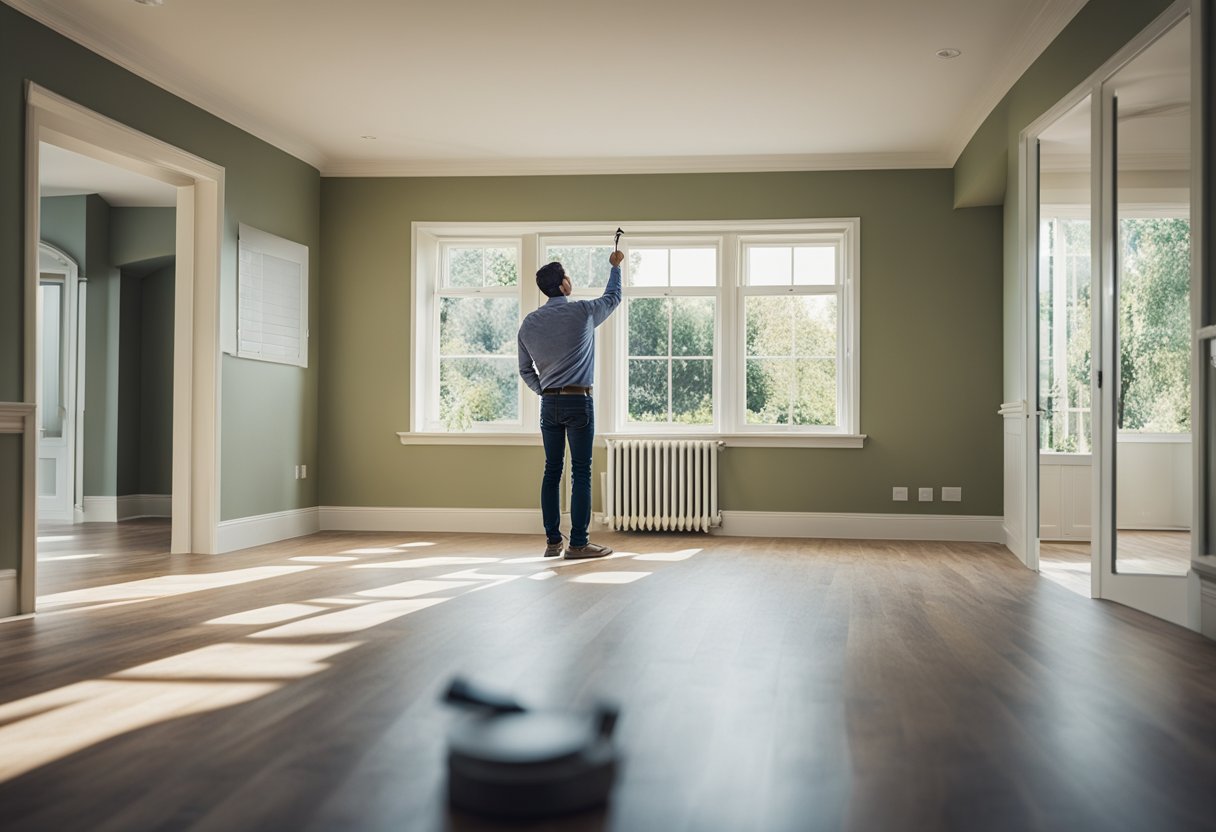
To calculate the amount of paint needed for a three-bedroom house, one must measure the length and height of each wall to determine the total area to be painted. Doors, windows, and trim should be accounted for as they typically require less paint than walls. A more accurate estimation accounts for these subtracted areas. It's also essential to include the ceilings in the calculation if they are to be painted. Ceilings in a typical home measure about the same as the floor area, adding to the total paint needed for the project.

Assessing Paint Needs

A person measures room sizes in a 3-bedroom house, calculating paint needs

When determining how much paint is needed for a three-bedroom house, one must carefully calculate interior requirements and estimate the exterior needs based on surface measurements.

Calculating Interior Requirements

To calculate the paint needed for the interiors of a three-bedroom house, one should measure the total square footage of the walls. For a standard 1,500-square-foot house, interior wall space will be significantly less due to the inclusion of space occupied by doors, windows, and non-painted surfaces.

A paint calculator can help ensure accuracy by considering these variables. Assuming an average room height of 8 feet, one can list the length of each wall and multiply by the height to find the total square footage for each room. For example:

One gallon of paint typically covers about 350 square feet with one coat. Multiple coats, which might be necessary for full coverage, should be accounted for.

Estimating Paint for Exterior

The approach for estimating exterior paint involves measuring the external surface area of the home. One must consider the architectural style of the house since this will affect the total paintable area. Elements such as eaves, overhangs, and gables should be included in the total calculation.

The paint coverage rate might differ for exteriors compared to interiors, often due to the paint type and surface texture. It is crucial to use a paint calculator that allows one to input square footage and adjust for these variables to estimate the correct amount of paint required for the whole house, not just the bedrooms.

Again, it is advisable to factor in the paint needed for multiple coats to achieve a durable and even finish on the exterior surfaces.

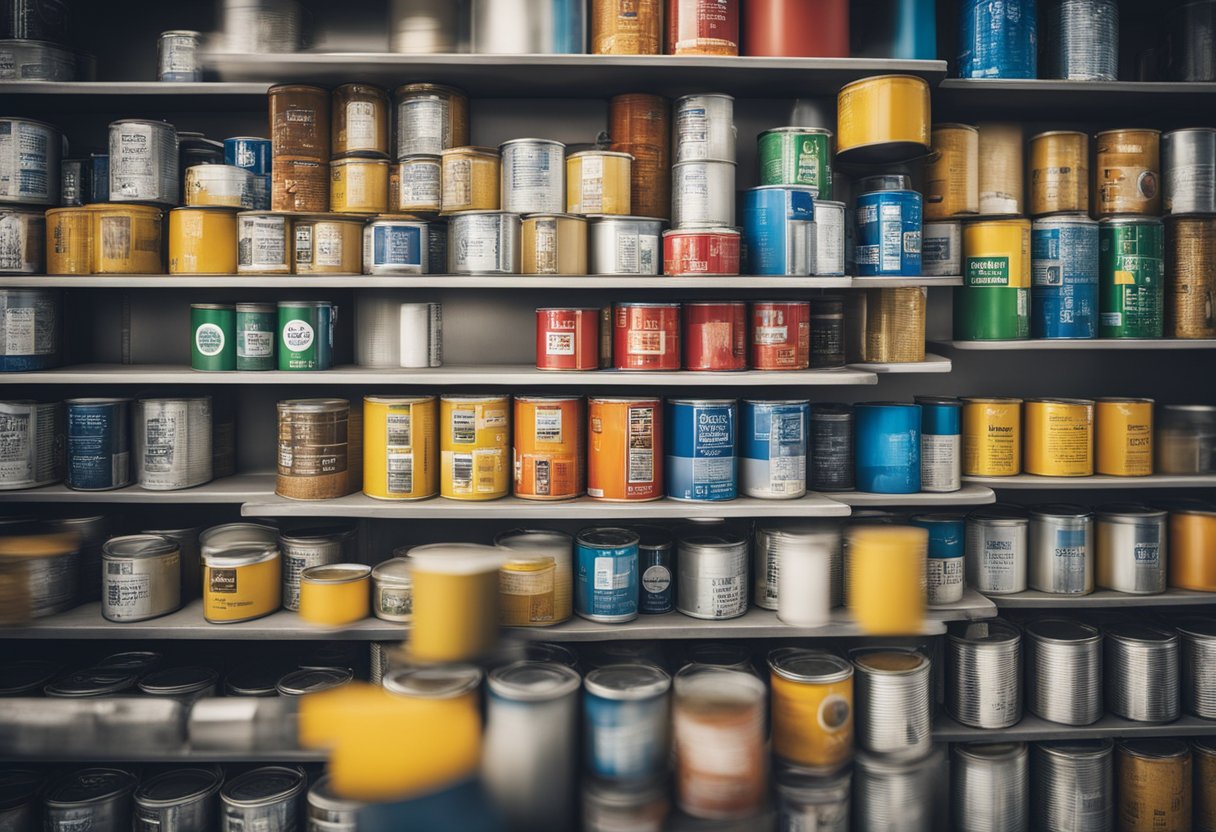
Paint Volume and Coverage

A 3-bedroom house with walls and ceilings needing paint, along with paint cans and brushes, to illustrate paint volume and coverage

When planning to paint a three-bedroom house, it's critical to understand paint coverage and accurately calculate the volume of paint needed.

Understanding Paint Coverage

Paint coverage, often specified on the paint can, is generally measured in square feet per gallon. On average, one gallon covers approximately 350 to 400 square feet with one coat. However, coverage may vary based on the brand and type of paint. For example:

Factors influencing coverage include the texture of the walls and whether the surface is pre-primed.

Room-Specific Paint Quantities

To determine how much paint is required for each room of a three-bedroom house, one should measure the total surface area to be painted and divide by the coverage ratio of the chosen paint. For interior walls, if a room measures 12 feet by 12 feet with 8-foot ceilings, the area is 384 square feet. Assuming two coats, 8 Litres of paint are typically ample for one room. For a full house, calculate the combined surface area of all rooms, not forgetting to subtract space for doors and windows.

Purchasing Paint

A person stands in a hardware store, holding a paint swatch and pondering how much paint is needed for a 3-bedroom house. Paint cans and color options line the shelves

When embarking on painting a 3-bedroom house, it is essential to consider the quantity and cost of paint required for the project. Accurate estimation ensures that one buys enough paint to complete the job without unnecessary expenditure on excess paint.

Selecting the Right Paint

Choosing the right paint for a 3-bedroom house involves both quality assessment and quantity calculations. An average gallon of paint will cover approximately 350 square feet. To ascertain how much paint is needed for a 3-bedroom house, one should first determine the total square footage to be painted. This includes walls, ceilings, and other surfaces; however, it excludes areas occupied by windows and doors.

Interior Walls: For the interior, the general thumb rule is one gallon per 400 square feet. Given that, each bedroom might be roughly 200 square feet, and including other rooms such as the living room and kitchen could add up to approximately 1200 to 1500 square feet, one would require about 3 to 4 gallons per coat.

Exterior Walls: The exterior requires more resilient paint and commonly uses a greater quantity due to texture and exposure to elements. For an average-sized home, exterior painting might require around 10 to 20 liters per coat, depending on factors such as paint type and surface conditions.

Cost Considerations: The cost of a gallon of paint varies, typically ranging from $20 to $50 per gallon, depending on brand and quality. For a 3-bedroom house, using intermediate-quality paint could mean a budget of $60 to $200 or more on paint alone per coat.

To ensure that one purchases the correct amount, one may utilize a paint calculator tool, which takes into account room dimensions and subtracts the area of doors and windows to provide a more precise estimation.

In conclusion, precise measurements and careful consideration of the surface types and paint quality can help homeowners purchase the appropriate amount of paint needed for their 3-bedroom house and avoid overspending or underestimating the requirements.

Herndon Service - Best Painters in Herndon, VA

At Herndon Services, we're your trusted painters in Herndon, serving Northern Virginia from Ashburn to Centerville. With top-quality paint and a skilled team, we refresh your home's style. Beyond painting services in Northern Virginia, we offer flooring, remodeling, and handyman services. We prioritize quality and simplicity. Reach out for a free estimate and let us enhance your home!

Is it Okay to Paint Over Old Paint? A Knowledgeable and Clear Answer

Painting over old paint is a common practice that can save time and money. However, many people wonder if it is okay to do so and, if so, what steps need to be taken to ensure a successful outcome. The answer to this question depends on several factors, including the condition of the existing paint, the type of paint being used, and the desired end result.

In general, it is possible to paint over old paint as long as the surface is clean, dry, and in good condition. If the old paint is peeling, cracking, or flaking, it will need to be removed before new paint can be applied. Additionally, if the old paint is oil-based and the new paint is water-based, a coat of primer may be necessary to ensure proper adhesion. It is always a good idea to test a small area before painting the entire surface to ensure that the new paint will adhere properly.

Assessing the Current Paint Condition

A hand holding a paintbrush examines peeling, cracked paint on a weathered wall

Before painting over old paint, it is essential to assess the condition of the existing paint. This step is crucial to ensure the new paint adheres well and lasts longer.

Should You Remove Old Paint Before Repainting?

Removing old paint before repainting is not always necessary. If the existing paint is in good condition, it is possible to paint over it. However, if the old paint is peeling, cracking, or chipping, it is best to remove it before painting.

Removing old paint can be done in different ways, such as sanding, scraping, or using a paint stripper. The best method depends on the type of paint and the surface being painted. It is important to note that removing old paint can be time-consuming and messy, so it is essential to take the necessary precautions.

How Many Times Can You Paint Over Paint?

It is possible to paint over old paint multiple times, but there is a limit. Eventually, the layers of paint can become too thick, resulting in a less smooth finish. It is generally recommended not to exceed three layers of paint.

However, it is important to note that painting over old paint multiple times can also result in the paint peeling or cracking. The weight of the new paint can cause the old paint to lose its grip on the surface.

Do You Need to Prime Before Painting Over Old Paint?

Priming before painting over old paint is not always necessary, but it is highly recommended. Priming helps the new paint adhere better to the surface and provides a more even finish.

However, if the existing paint is in good condition and the new paint is similar in color and sheen, the primer can be skipped.

Can You Paint Over Existing Paint Without Sanding?

It is possible to paint over existing paint without sanding, but it is not recommended. Sanding helps to create a smooth surface for the new paint to adhere to. Without sanding, the new paint may not adhere well, resulting in a less smooth finish and potentially peeling or cracking.

In summary, assessing the current paint condition is an essential step before painting over old paint. If the old paint is in poor condition, removing it may be necessary, and priming is highly recommended for a better finish. Sanding before painting is also recommended to ensure the new paint adheres well.

Preparation for Repainting

An old wall being sanded and cleaned, with paint cans and brushes ready for repainting

When it comes to repainting a surface, it is crucial to prepare it properly to ensure that the new coat of paint adheres well and lasts longer. Here are some steps to follow when preparing a surface for repainting:

Sanding and Priming

Sanding the surface before repainting is necessary to remove any loose or flaking paint. It also helps to create a rough surface for the new paint to stick to. After sanding, it is recommended to clean the surface with a damp cloth to remove any dust or debris.

Using a primer is also essential when repainting a surface. A primer helps to create a smooth and even surface for the new paint to adhere to. It also helps to cover any stains or discolorations on the surface. When choosing a primer, it is important to select one that is suitable for the surface being painted. For example, there are specific primers for metal surfaces, drywall, and wood.

Using Primer Over Old Paint

When repainting old paint, it is highly recommended to use a primer before applying the new coat of paint. This is especially important when changing the surface's color. The old paint may bleed through the new paint, causing an uneven and patchy appearance. Using a primer helps prevent this and ensures a smooth and even finish.

It is also important to note that when repainting a car, using a primer is crucial. The primer helps to create a smooth surface for the new paint to adhere to and ensures that the paint job lasts longer. When using a primer on a car, it is recommended to choose one that is specifically designed for automotive use.

In conclusion, preparing a surface before repainting is essential to ensure a successful and long-lasting paint job. Sanding the surface and using a primer are crucial steps to follow, especially when repainting old paint. When choosing a primer, it is important to select one that is suitable for the surface being painted.

Painting Techniques

An artist applying fresh paint over an old canvas, using various techniques to create texture and depth in the artwork

When it comes to painting over old paint, there are a few techniques that can be used depending on the surface being painted. In this section, we will explore two techniques: repainting with the same color and painting over old paint on wood.

Repainting with the Same Color

Repainting with the same color is a common technique used when the existing paint is still in good condition but you want to freshen up the look of the surface. To repaint with the same color, follow these steps:

  1. Clean the surface thoroughly with soap and water to remove any dirt, grime, or grease.
  2. Sand the surface lightly with fine-grit sandpaper to create a rough surface for the new paint to adhere to.
  3. Apply a coat of primer to the surface to create a smooth, even base for the new paint.
  4. Apply the new paint in thin, even coats, allowing each coat to dry completely before applying the next.

Painting Over Old Paint on Wood

Painting over old paint on wood can be a bit more complicated than repainting with the same color. Before painting over old paint on wood, it's important to determine the condition of the existing paint. If the existing paint is in good condition, follow these steps:

  1. Clean the surface thoroughly with soap and water to remove any dirt, grime, or grease.
  2. Sand the surface lightly with fine-grit sandpaper to create a rough surface for the new paint to adhere to.
  3. Apply a coat of primer to the surface to create a smooth, even base for the new paint.
  4. Apply the new paint in thin, even coats, allowing each coat to dry completely before applying the next.

If the existing paint is in poor condition, it may be necessary to remove it completely before painting. This can be done using a paint scraper, sandpaper, or a heat gun. Once the old paint has been removed, follow the steps above to prepare the surface for the new paint.

In conclusion, painting over old paint can be a cost-effective way to freshen up a surface's look. However, it's important to use the proper techniques to ensure a smooth, even finish that will last for years to come.

Herndon Service - Premier Painting Professionals in Herndon, VA

Herndon Service stands as the preferred choice for painting solutions in Northern Virginia, from Ashburn to Centerville. Our expert team of painters in Herndon is committed to enhancing your home's aesthetic appeal with top-quality paint and craftsmanship. In addition to painting, we also specialize in flooring, remodeling, and handyman services. Our priority is delivering exceptional results while ensuring a hassle-free experience for our clients. Reach out to us today for a complimentary estimate, and let us elevate the look of your home!

Do I Need Primer to Paint? Unveiling the Truth About Pre-Painting Preparation

Deciding whether or not to use a primer before painting is a common point of confusion for many individuals embarking on a painting project. Primer serves an integral role in preparing surfaces for painting. It is designed to create a uniform and adhesive base for the paint, ensuring better adhesion and durability. In specific circumstances, such as when painting new drywall, bare wood, or metal surfaces or when making significant color changes, the use of a primer is a crucial step that should not be overlooked.

However, in some cases, the need for primer can depend on the condition of the surface and the type of paint being used. Advances in paint technology have led to the introduction of self-priming paints, which combine primer and paint in a single product. These paints have improved to the point where they may negate the need for a separate primer, particularly when painting over a surface that is in good condition or when the paint used is of high quality and designed for a specific type of surface.

Nevertheless, exterior painting almost always requires a primer due to the surface being exposed to weather elements. Primer not only helps paint adhere better but also serves to protect the material being painted. For any painting project, understanding the properties of the surface, as well as the capabilities of the chosen paint, is vital to determining whether the application of a primer is necessary for the best results.

Understanding Primer and Its Purpose

A paint can sits next to a primer can. A brush is dipped into the primer, ready to coat the surface before painting

Primer serves as the foundational layer that ensures paint adheres better and lasts longer. It is essential for optimal paint performance and durability.

Function of Primer

Primer is specifically formulated to create a sticky, flat surface that new paint can effectively adhere to. It is designed to:

Primer vs No Primer

With Primer:

Without Primer:

Situations Requiring Primer

Using primer is not about creating an unnecessary step but rather ensuring that the new paint job looks better and lasts longer. In scenarios where you're painting over old paint that is still in excellent condition, a primer may not always be necessary. However, when in doubt, opting for primer is a wise investment for any painting project.

Application of Primer

A hand holding a paintbrush applying primer to a surface

Primer is an essential undercoat that prepares painting surfaces, ensuring that the final paint adheres properly and has a uniform appearance.

How to Apply Primer

One should start by thoroughly cleaning the surface to remove any dust or debris. For optimal results during the application:

The surface should be left to dry as indicated by the primer's manufacturer before applying subsequent coats of paint.

When to Use Primer Before Painting

Using a primer is recommended in various situations, including the following:

By following these specific scenarios and application methods, one ensures a more durable and aesthetically pleasing paint job.

Specific Cases and Considerations

A paint can and a brush next to a primer container on a table

When approaching a painting project, whether on walls or the face, the use of primer is decided by the surface condition and the desired outcome. Primer sets the stage for paint or makeup to adhere better and provide a more uniform finish.

Painting Over Existing Paint

If one is painting over a previously painted wall, one must assess the condition of the existing paint. A primer is often required if:

However, for a room with walls in good condition and minor color adjustments, primer may not be strictly necessary. Skipping primer might lead to uneven color and finish, as the old paint might bleed through.

Herndon Service - Best Painters in Herndon, VA

At Herndon Services, we're the go-to Herndon Painters, making your home look great. Trusted by many homeowners in Northern Virginia, from Ashburn to Centerville, we use top-notch paint and have a skilled team of Herndon and Fairfax painters to give your home a fresh, stylish look. Beyond painting, we offer flooring, remodeling, and handyman services. We focus on doing the job right and making the process easy for you. Contact us for a free estimate and see how we can transform your home!

How Long Does Paint Last? Unveiling Shelf Life and Durability Tips

Determining the lifespan of paint is important for both practical and economic reasons. Unopened cans of paint, when stored correctly, can last for years. The actual longevity of the paint depends on its composition. For example, latex paints have a shelf life of up to 10 years, and oil-based paints can remain usable for up to 15 years if the cans are unopened and stored in optimal conditions.

Once a paint can is opened, the clock starts ticking on its usability. If resealed properly and kept in a cool, dry place, opened cans of latex paint can maintain their quality for a couple of years, while oil-based paints can last for up to five years. Factors that influence these time frames include exposure to extreme temperatures, humidity, and how well the paint can be sealed after use.

It's essential to recognize the signs of paint degradation to avoid the disappointment of applying ineffective or spoiled paint to a surface. Paint that has separated significantly developed a foul odor, or changed in texture may not perform as expected. Knowing how to store paint and when it's time to dispose of it can save time and resources while ensuring a high-quality finish for painting projects.

Shelf Life of Paint

A shelf with various paint cans, some open and half-used, others sealed and labeled with expiration dates

The shelf life of paint is influenced by its composition and whether the can has been opened. Proper storage conditions are essential to maximize the paint's lifespan.

Unopened Paint Durability

Unopened cans of latex paint are typically good for up to 10 years, while oil-based paints can last up to 15 years when stored under ideal conditions. These conditions include a cool, dry place away from extreme temperatures. It is crucial to ensure that the lid remains properly sealed and the can is not compromised to maintain the integrity of the paint.

Opened Paint Longevity

Once a paint can is opened, the clock starts ticking on its usable life. Latex paint might remain viable for 2 years or more, provided that it’s sealed tightly after each use and stored correctly. The opened can should be kept away from extreme temperatures and moisture. Here are some specifics:

Properly sealing the can by cleaning the lid groove and rim can prevent air from entering and drying out the paint, which is critical to extending its longevity.

Signs of Paint Deterioration

Paint peeling and cracking on an old building exterior. Faded colors and chipping edges. Weathered and worn surfaces

Recognizing the signs of paint deterioration is important for assessing the longevity and usability of paint, whether it's in the can or on the walls.

Visual and Olfactory Indicators

Visual and olfactory cues are primary indicators of paint degradation. When inspecting paint, it might display color changes or separation, with clear liquid or a skin-like layer forming at the top. These visual signs suggest that the paint is no longer in its optimal state. A strong rancid odor, different from the typical paint smell, is a clear sign that paint has spoiled and should not be used.

On walls, fading and chalking, a powdery residue on the painted surface indicates that the paint is breaking down due to age or exposure to elements. Mildew or mold formation can also occur, particularly in humid conditions, showing that the paint's protective properties have diminished.

Paint Consistency and Performance

The consistency of paint is a critical factor in determining its condition. Oil-based paints tend to last longer than water-based paints once opened, with a potential usability of up to five years for the former and approximately two to three years for the latter when stored correctly. Good paint should mix to a smooth, even consistency when stirred. If the paint remains lumpy or thick even after thorough mixing, it has likely deteriorated.

In terms of performance, deteriorated paint will not apply evenly and may not adhere properly to surfaces. This can result in a compromised finish and reduced durability of the paint on walls. Latex paints on walls generally have a life expectancy of around 10 years before quality starts to decline visibly.

Safe Usage and Risks

A paint can sits on a shelf, labeled with an expiration date. A warning sign displays potential risks of using old paint

When considering the use of paint that has been stored for a significant period, it is crucial to assess its viability and to understand the potential risks involved. This evaluation ensures the safe and effective use of the product.

Using Old Paint Safely

Old paint, whether it has been stored for a decade or just a couple of years, may still be useable, but it needs a thorough inspection before application. For unopened cans, latex, and oil-based paints often last up to 10 and 15 years, respectively. Once a paint can is opened, the shelf life decreases considerably; latex paint usually lasts for 2-3 years, and oil-based paint up to 5 years when stored properly.

Signs that paint is still usable:

Steps to ascertain usability:

  1. Stir the paint thoroughly and observe for smoothness.
  2. Test the paint on a small patch to ensure proper color and coverage.

It is not advisable to use paint if its quality cannot be guaranteed, as this might affect the durability and appearance of the painted surface.

Potential Hazards

Using old paint comes with inherent risks that could compromise both health and structural integrity:

Safety Tips:

Herndon Service - Best Painters in Herndon, VA

At Herndon Services, we're known as the top painters in Herndon and Fairfax, making homes look great on the outside. Trusted by many homeowners across Northern Virginia, including Ashburn, Sterling, Gainesville, and Centerville, we offer expert painting services in Fairfax that boost your home's curb appeal and protect it. With our skilled team and quality paint, we'll give your home a fresh new look that suits your style. We also offer other home services like flooring and remodeling. Choose Herndon Services for a hassle-free home upgrade.

Simple Projects to Increase Your Home’s Value

Some people are of the mistaken mindset that the only way to increase the value in a home is with significant renovations, but that is not the case. In reality, simple home improvement in Fairfax County, VA, can lead to a positive impact on the value of your home.

Let us find potential areas for home improvement tasks by looking around your home. First, we will look straight down and consider the floors.

Replacing your existing flooring is not a major project, but one that can have major results. There is a dizzying array of flooring types on the market today, and you are sure to find something you like and that suits your tastes.

Now, cast your gaze higher and look at the walls and ceiling. Painting is always an easy option to renew and refresh your home. While you are looking at the walls, why not look through them? Professionals like ours at Herndon Service can handle installing new windows quickly and easily. It has a dramatic effect on both the inside and outside of your home and moves the value upward.

Now, let us take a walk outside. If your deck has seen better days, think about rebuilding or repairing it so you can enjoy those barbecues and outdoor parties again. Also, how about the siding or your driveway? Can it stand a good pressure washing? If so, have it done by the pros and the results will be dramatic. If you do not have the tools and time for home improvement chores, turn to the experienced professionals at Herndon Service in Fairfax County, VA.

4 Tips on Exterior Painting

One of the easiest ways to provide a fresh new look to your home is by painting the exterior. With a day or two of work – depending on the size of the house and the weather – your home can be transformed with a new appearance.

Professional painters in Fairfax County, VA, like our team at Herndon Service, have the job down to a science thanks to a few simple tips. We want to present four of them here for your benefit.

Tip 1: Some homeowners encounter peeling paint when they tackle the job themselves. Prevent this by taking adequate preparation steps such as repairing damage to the surface, scraping away existing paint, sanding the edges, and cleaning the surface. Apply a good primer after the cleaning.

Tip 2: Paint your home when temperatures are neither too hot nor too cold. When it is too hot, the paint dries too quickly, leading to imperfections such as brush marks or bubbles. When it is too cold -- and this includes at night when the paint is drying -- will not allow the paint to dry correctly.

Tip 3: Paint the exterior of your home every five to ten years. That is pretty much the lifespan of most types of household paint.

Tip 4: To paint over vinyl siding, check the siding warranty to ensure it will not violate the conditions. Use a light-colored latex urethane paint that will stick to the vinyl and clean the siding first. Keep your home or business looking its best by choosing the superior work of professional painters in Fairfax County, VA. Herndon Service is ready to help!